A pad is a scratch note on the boards overlay — a small floating rectangle you can type into, dictate into, or hand to the assistant. It’s for the thought’s first thirty seconds: the line that arrived mid-call, the thing you’ll need in ten minutes, the draft you’re not ready to open a document for.
Turn pads on first
Pads come from an add-on called Sticky, and it isn’t installed by default. Open Settings → Add-ons, find Sticky in the list, and install it. Until you do, the overlay’s app picker offers only Browser and Terminal.
Making one
- Open the overlay with ⌘⇧O.
- In the toolbar’s app picker, choose Sticky.
- Click New pad.
Click into it and type. There’s no save button — a pad writes itself to disk as you go, and it’s still there when you switch boards or reopen the canvas.
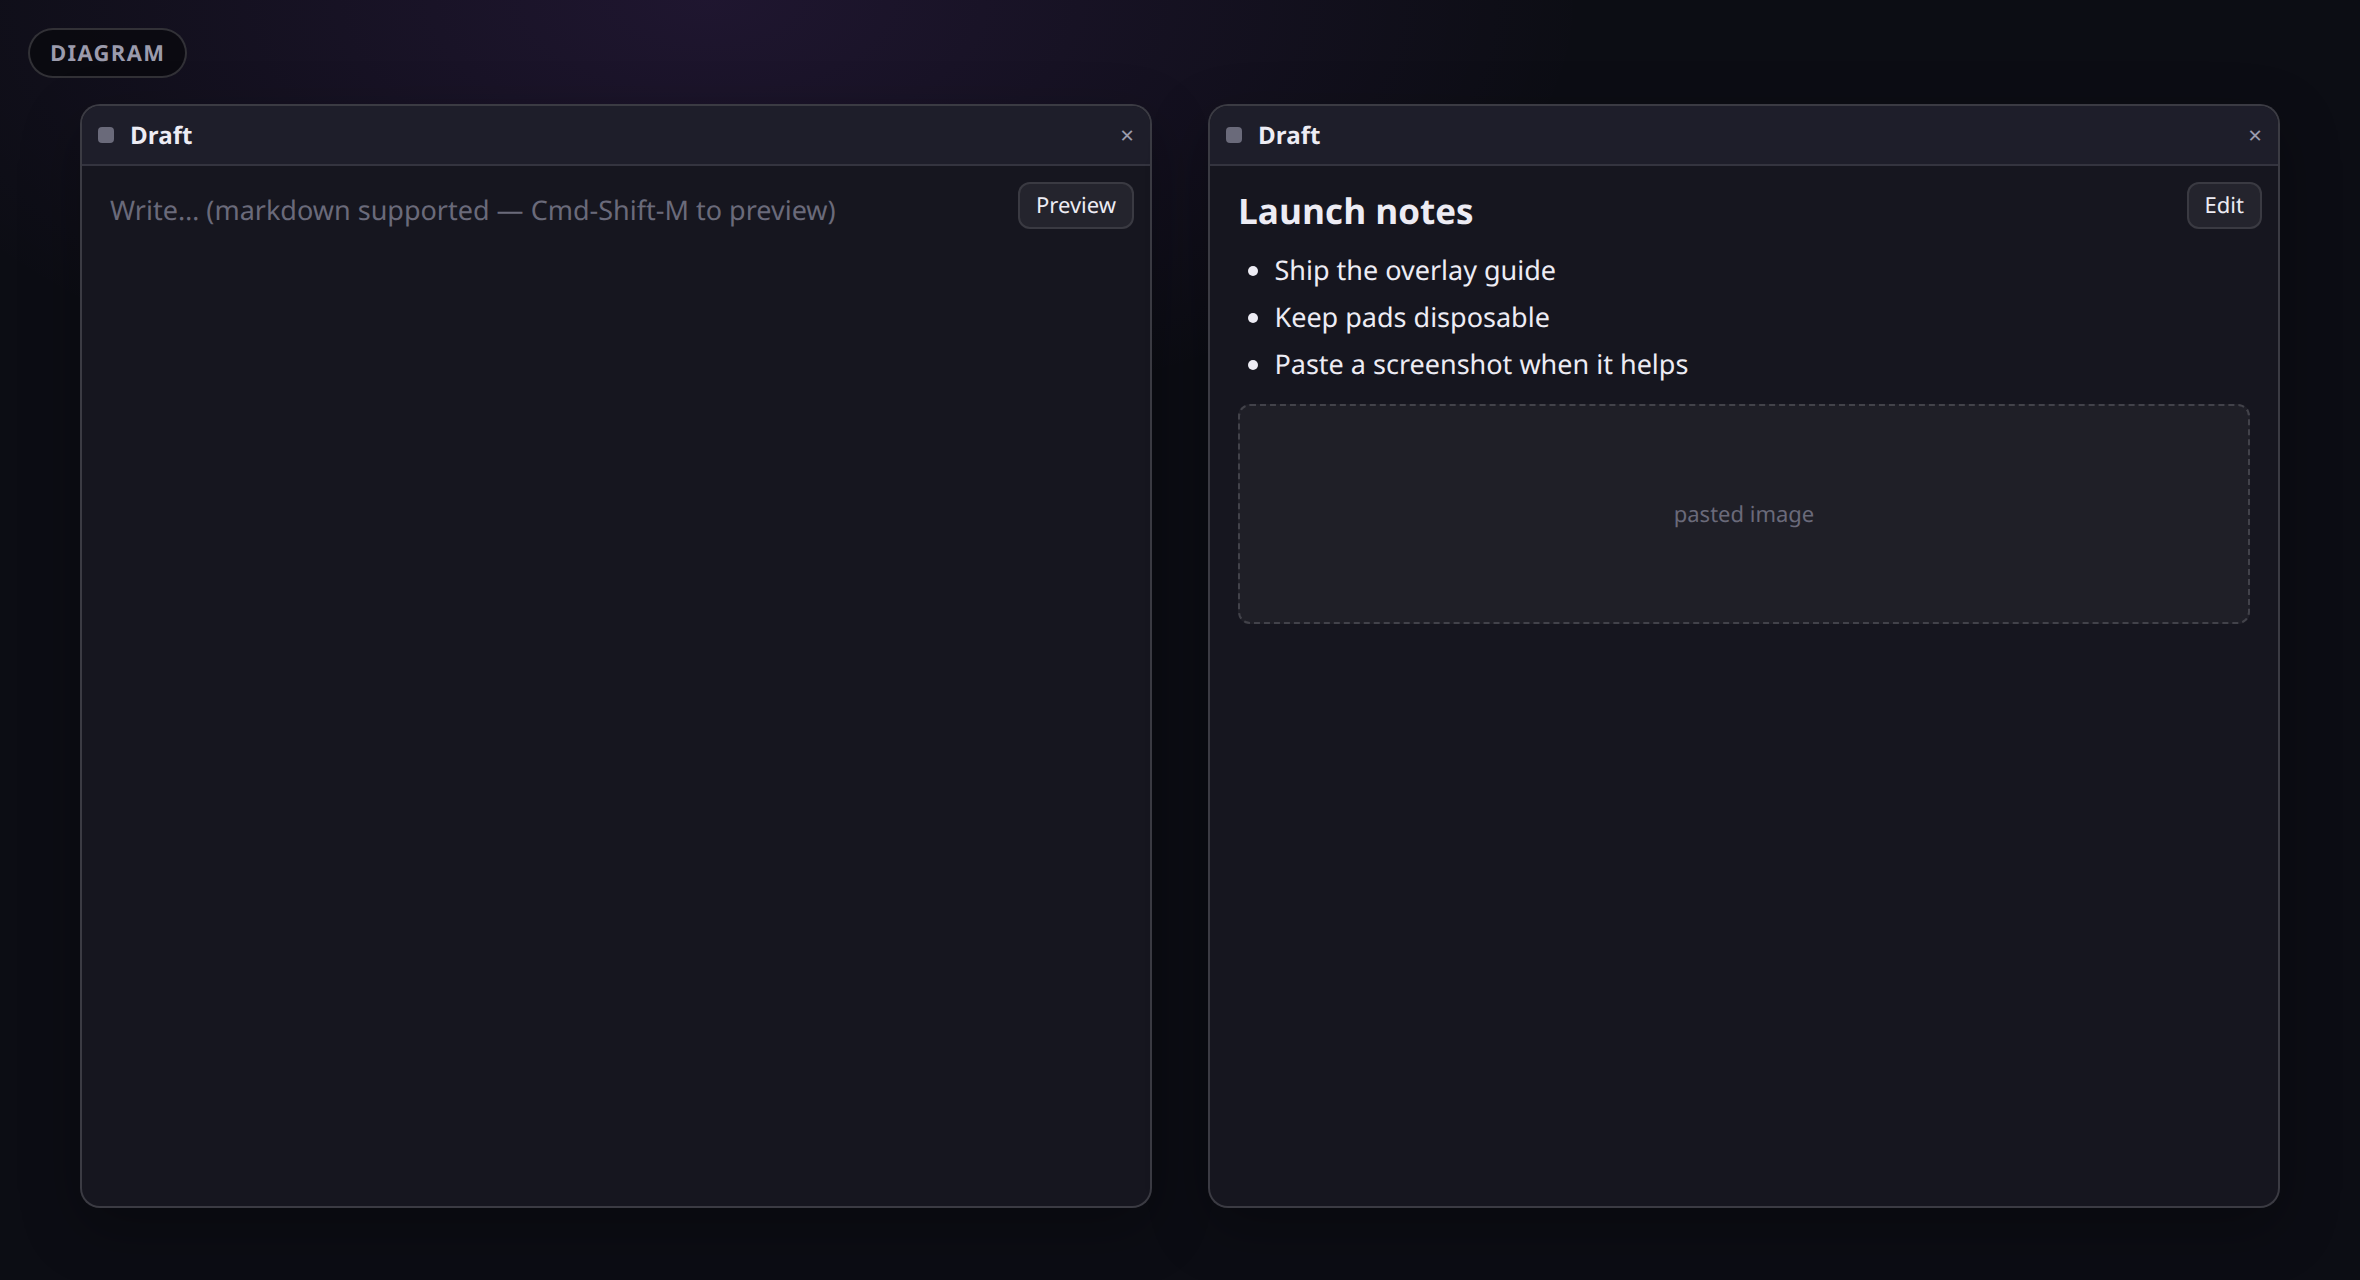 Screenshot pending: sticky-pad.png
Closing a pad's pane deletes its text. Pads are deliberately disposable — if what's on one matters, move it somewhere permanent before you close it. Hiding the overlay, switching boards, and quitting Clabrate are all safe; only closing the pane discards the note.
Markdown preview
A pad has two faces. The Preview button in its corner — or ⌘⇧M from either side — flips between the plain text you’re editing and a rendered view of it. Each pad remembers which face it was on.
It’s a scratch renderer, not a document processor. It handles headings, bold and italic, links, bullet and numbered lists, nested lists, checklists (- [ ] thing, which render as tick boxes), tables, block quotes, inline code, fenced code blocks, horizontal rules, and images. It deliberately doesn’t do footnotes or reference links, and it never renders raw HTML — text arriving from your clipboard or from a model can’t turn itself into markup.
The tick boxes are display-only: tick one by editing the text, so the plain text stays the single source of truth.
Nested lists
Indent a list item by two spaces to put it under the item above. Bullets, numbers and checklists can be mixed at any level:
1. Pack
   - passport
   - charger
2. Book
   - [ ] flights
     - [x] outbound
Two spaces per level is enough; three or four (or a tab) work too, so a list pasted from somewhere else or written by a model keeps its shape. In the editor, Tab indents the list line the caret is on by two spaces and ⇧Tab takes them back; with several list lines selected it moves them all. On any other line Tab does what it always did. A blank line ends the list.
Tables
Tables use the same pipe syntax as GitHub: a header row, a row of dashes under it, then one row per line.
| Item   | Qty | Price |
|:-------|:---:|------:|
| Tea    |  2  | $4.50 |
| Milk   |  1  | $1.20 |
The dashes row is what makes it a table. A colon on the left of a column’s dashes aligns it left, on the right aligns it right, and on both sides centres it. The pipes at the start and end of a row are optional, bold, links and inline code work inside cells, and \| puts a real pipe in a cell. A pipe inside inline code stays in that cell too; it doesn’t start a new one, which is where this differs from GitHub. A table wider than the pad scrolls sideways inside it.
The preview has limits, so a huge pad can’t slow it down. Your text is never changed by them; only what the preview draws is.
- Lists nest six levels deep. An item indented further than that is shown as another item at level six.
- A table shows its first 20 columns and first 200 rows. Columns past 20 aren’t drawn, and a line under the table says how many rows were left out.
- A cell shows its first 2,000 characters, then an ellipsis.
- A row longer than 20,000 characters isn’t treated as a table row. It is shown as plain text and ends the table, so any rows after it are plain text as well.
Images
Paste an image into a pad, or drop one onto it — a screenshot, a photo, anything on the clipboard. It lands as an image reference in the text and shows up in the preview.
Images stay on your Mac, in Sticky’s own private storage. Big ones are scaled down before they’re stored, so a Retina screenshot costs a few hundred KB rather than a few MB. They reopen with the note. Delete the reference from the text and the stored bytes are cleaned up on the next load — nothing accumulates invisibly.
If storage is full when you paste, the pad says so in its own text rather than silently ignoring you.
Getting words onto a pad without typing
From the HUD. Both the dictation panel and the assistant panel have a small Send to scratch pad button. Press it and the text goes onto a fresh pad — opening the overlay first if it’s closed, and leaving the app you’re working in focused. It’s the fastest path from “I just said something worth keeping” to “it’s saved”.
By voice. With the overlay open and Sticky active, the assistant can create, read, rename, delete and list pads, write a whole pad, append to one, and make a targeted edit inside one. Because pads are named, you can address them: “add that to the ideas pad”, “read me Draft”, “make a pad called Launch”.
Pad edits are exact find-and-replace, so a vague instruction gets a question rather than a guess — and if you changed the text yourself since the model last read it, the edit fails loudly instead of overwriting you.
Note: Dictation doesn’t type into a focused pad yet. Use Send to scratch pad on the HUD, or ask the assistant to write it, and the words land on the pad either way.
Rewriting a pad
With a pad focused, the transform key (⌘⇧T by default) rewrites the whole pad in place instead of acting on a selection elsewhere — pick a saved style or describe a one-off. Everything on Text transforms applies.
Naming pads
Double-click a pad’s title to rename it. Worth doing: the name is the handle you and the assistant both use — “move Draft to the left half” only works if something is called Draft.
Privacy
Pad text and pasted images live in Sticky’s own storage on your Mac, and Clabrate never sends them anywhere on its own. The exception is the one you’d expect: if you ask a cloud model to read or rewrite a pad, that pad’s text goes to that provider for the request, exactly like any other assistant message. Keep the assistant on the on-device model and nothing leaves. See Privacy & your data.
Common questions
There’s no “New pad” button. The toolbar’s app picker is on Browser or Terminal. Switch it to Sticky — and if Sticky isn’t in the list, install it from Settings → Add-ons.
⌘⇧M did nothing. It works while the pad has focus. Click into the pad first.
My pad disappeared. Check the board switcher — pads belong to a board, and switching boards swaps them out. If you closed the pane, though, the text is gone by design.
The assistant says it can’t find my pad. It matches on the pad’s name, and unnamed pads get generic ones. Rename the pad and try again; the error usually lists the pads on the board so you can retry with an exact name.
Can I get a pad’s text out? Select it and copy, or dictate/transform it into the app you actually want it in. Pads aren’t meant to be the final home for anything.
There’s an essay on why pads work the way they do: A place to put a thought down.